If you intend to compete or train on grass, you will need stud holes in your horse’s shoes and a well stocked stud kit in your tack room.
Studs screw into a horse shoe to provide improved grip and traction. They can be a game changer when it comes to improving a horse’s grip in tricky conditions and can give you both the confidence to go slightly quicker or turn a bit tighter, particularly in wet and slippery conditions.
Horse shoes are just smooth pieces of metal, meaning they provide little grip on grass. Consequently horses can slip and slide around and lose confidence in the ground, potentially even falling over.
Applying studs, which protrude from the shoe and dig into the ground, help horses remain steady and secure on their feet on all surfaces.
You should have a wide range of suitable studs for your horse in your tool kit so you can select the most appropriate ones for the task at hand and the grip required on any given day.
If you are jumping your horse with studs then protective boots and a stud girth can be useful to help prevent injury.
Does my horse need studs?
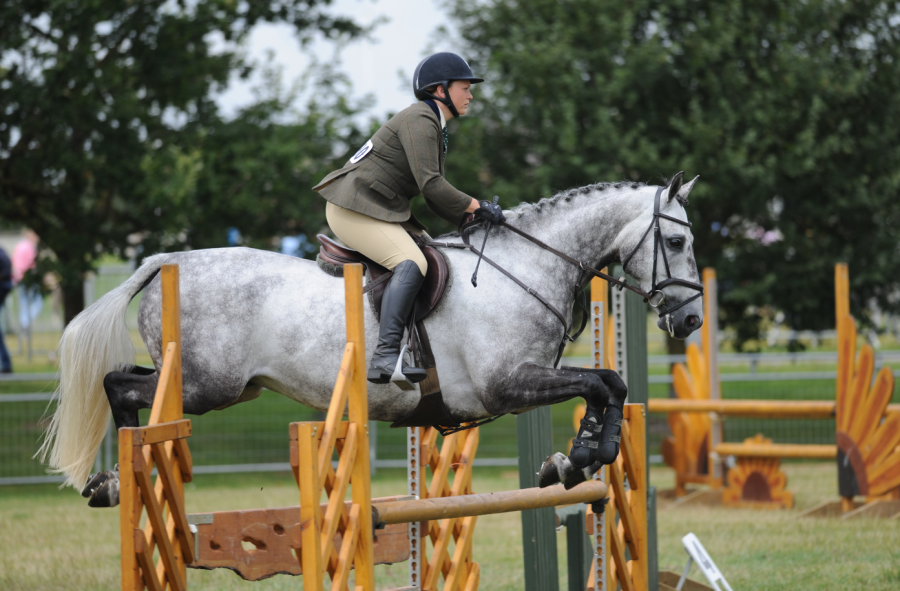
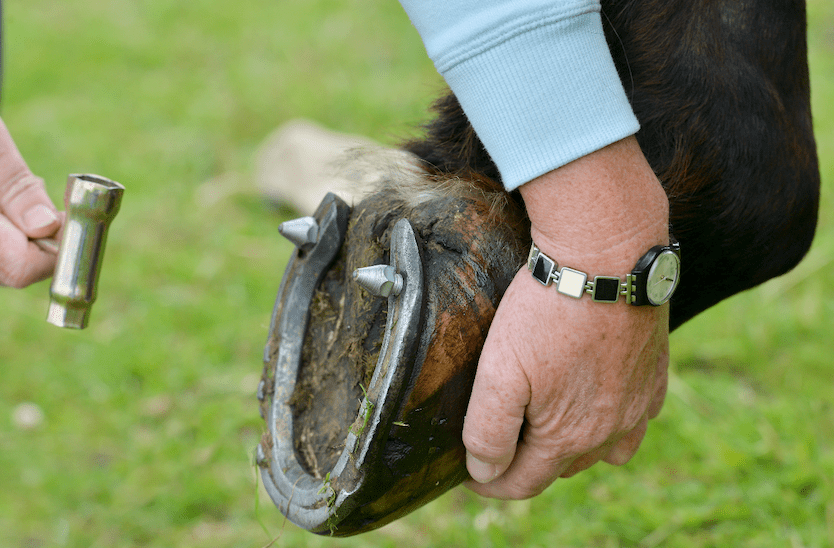
This horse has two studs in all four shoes to give greater grip for jumping on grass
Studs should always be used sparingly and only when necessary. If you are using studs for competition, then they should be applied and removed at the event.
Horses should not travel in studs or stand around with them in for longer than is required.
“Studs are a necessary evil. They help the horse to feel secure and therefore be able to move faster and give horse and rider much more confidence when jumping on grass,” says master farrier Ben Benson.
“Correct studding will dramatically improve the traction and grip, especially when turning at speed, but can also restrict natural movement in the foot.
“This means that the impact has to be absorbed by the soft tissue of the limb, which places extra strain on the tendons and increases the risk of injury.”
Choosing studs
Studs come in a range of shapes and sizes. The studs you choose to use will depend on what surface or condition you will be riding on — because they are designed for different types of terrain/going — and how much grip is required.
- Front feet should always be studded identically (ie, the same number and type of stud used in both of the horse’s front hooves), as should hind feet.
- However, both pairs of hooves don’t need to be studded the same. Having larger studs in the hind feet rather than the front can be effective, for example.
- It’s possible to only use studs in the hind feet but you should never use studs only in the front.
All horses are individuals and will have different needs and preferences. If you need any help deciding which studs are best suited to your horse, then ask your farrier for advice.
One stud or two?
Ben Benson recommends using two studs in each horse shoe rather than one.
“Traditionally there has been an argument to use just one stud in each foot but that means one side of the foot comes down and hits the ground quicker,” he says.
“Then the horse lands unevenly and this creates significant amounts of torque, which on hard ground and over time can cause repetitive strain injuries.
“You should always try to use the smallest studs possible; studs don’t have to be big to help,” continues Ben.
Five-star event rider Coral Hardman agrees: “I prefer using two studs as I think two helps to keep the foot in a better balance.
“If you just use one stud in a shoe, I think the horse’s foot must be twisting and that comes up through the other joints.
“I tend to use smaller studs in front than behind to help reduce the concussion through those four limbs and allow the foot to naturally have a bit of slide in front so you don’t get that jarring.”
Types of studs and when to use them
Generally, large, rounded studs are best suited to soft ground. Sharper, pointier studs are a better choice for firm going.
The main types of studs include:
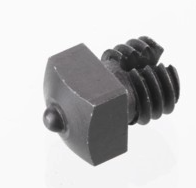
Road stud
Road studs
- Road studs are short and flat with a small, exposed tip. They are extremely hardy as they are designed for use on road surfaces and on dry, firm ground.
- Typically they are 8-9mm in length and are four or six-sided.
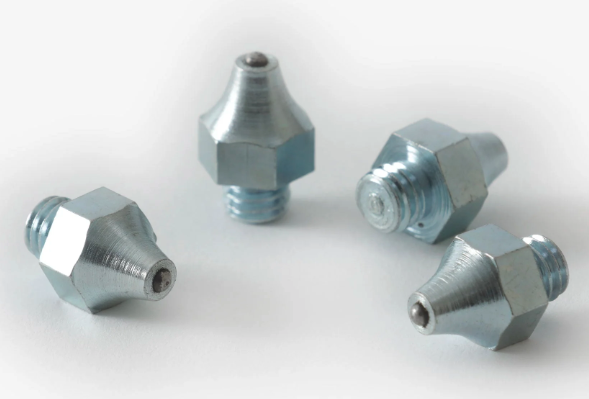
Conical studs
- Conical studs are the most popular all-round stud owing to their versatile nature.
- They can be used in a variety of conditions, but are ideally suited to slippery or greasy surfaces.
- These studs are cone-shaped.
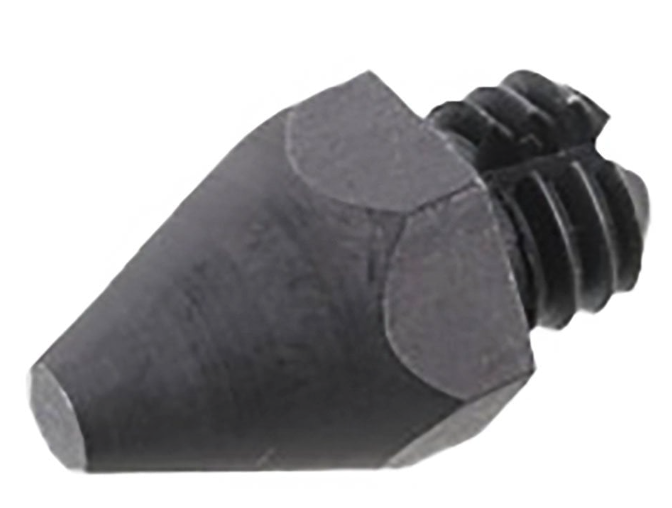
Conical stud
Bullet studs
- Bullet studs have a longer body and a rounded end.
- They are best used on soft terrain like grass or sandy surfaces.
Dome studs
- Dome studs are oval in shape and have a pointed dome top.
- They come in a range of sizes and are best suited to soft conditions.
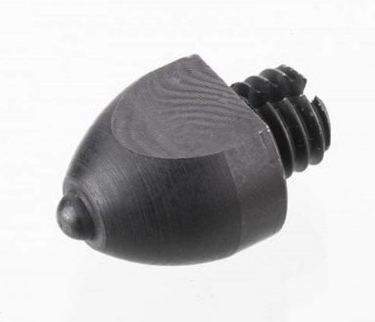
Dome stud
Jump studs
- Jump studs have a pointed end and are ideal for varying ground conditions.
- They are available in myriad different sizes.
Sharp studs
- When riding in deep ground or thick grass it is best to use sharp studs which have a pointed end. This is because sharp studs are better able to penetrate the ground.
Polo studs
- Polo studs are small, cubic studs which are best suited to sharp turns and changes of direction.
Jumping stud
Dressage studs
- A small conical-shaped stud, dressage studs are designed for use on hard ground.
Sleeper or travel studs
- Sleeper or travel studs are small, flat studs which are particularly useful for fitting to a horse’s shoe the night before competition after you’ve cleaned the stud holes.
- They are made from stainless steel so won’t rust into the shoe and are not designed for long time use.
Road nails
- Road nails are not studs but they can provide extra grip for the horse.
- Road nails contain a tungsten pin which protrudes slightly from the head of the nail and digs into the surface when the shoe hits the ground.
- Road nails may become loose over time as the vibrations can cause the clench to rise.
Travel stud
Road pins
- Road pins are tungsten pins that are riveted directly into small holes in the shoe. This permanently attaches them into the shoe.
- Any force placed on the road pin is spread over the whole shoe and shared between all the nails in the foot.
- Road pins are either pointed or rounded, giving increased grip options.
“Generally, I use pointy studs when I’m riding on firm or slippery ground. If it’s wet, I use more of a block-shaped stud. It would have to be very wet for me to use a block in front; sometimes you can get a combination of a block with a point and they can be quite good in front,” says Coral Hardman.
How to fit studs
In the following video, expert groom Jenny Ellis explains to fit and remove studs from a horse’s shoe correctly:
Plug the stud holes
When not using studs, you should plug the holes in your horse’s shoe with something like cotton wool with a dab of hoof oil to ensure the hole remains clean and free of debris.
Before applying studs, remove the plug with an old nail or plaiting needle and clean out the hole with a wire brush.
Putting studs in
Before putting the studs in, a tap is a useful way to sharpen the threads in the hole and make it easier to screw studs in. However, the tap must be straight. Do it incorrectly and you will ruin the hole.
Use your fingers initially to screw in the stud. Then use a spanner to ensure the stud is tight and locked into the shoe.
If the stud appears to be going in crooked then you’re likely to have cross-threaded it. In this situation you should remove it and start again.
Taking studs out
When removing studs, use a spanner and then plug the holes immediately.
Screw the right way
Remember to turn studs clockwise (righty tighty) when screwing them in and anticlockwise (lefty loosey) when taking them out.
Clean and store studs correctly
Wipe studs after use and store them in a cloth or airtight box to prevent them from going rusty.
A couple of times a year give them a thorough clean with a scourer and some hot soapy water. Then spray them with WD-40.
Stud kits
Useful items to have in your stud kit are:
- The studs themselves
- Cotton wool or plugs (like these) for using in stud holes when they aren’t needed
- A nail or similar to remove plugs
- A tap (such as this one)
- A screwdriver
- A wire brush or similar for cleaning out hooves (like this one)
- Secure box for storing the stud kit
- Magnetic pot for putting studs into once they are removed, lowering the risk of them falling out and getting lost.
“I have a tiny little flat head screwdriver which is brilliant for cleaning out the stud holes. I use plastic or rubber plugs and that screwdriver is great for hooking them out,” shares Coral Hardman.
“In my tool kit I also have a tap and an adjustable spanner. I’m always very careful with the tap in case the horse spooks and puts his foot down on the tap.
“To avoid cross-threading you need to learn the skill of making sure the tap is in straight. If it feels like there’s a huge amount of resistance, then clean out the stud hole before trying again,” says Coral.
Prepare studs early
To avoid last-minute stress, prepare stud holes the day before you wish to use them so they are clean and ready to go. Then replace the plug or insert a sleeper or travel stud.
“I always pre clean and tap the stud holes the night before a competition. That way, if there’s a stone in there or we have a problem we have more of a chance to get a farrier to sort it than we have half an hour before our test,” reasons Coral.
“I then put a flat blank road stud in overnight. Then the next morning at the competition all we’ve got to do is swap that out, you don’t have all the faffing particularly with a fresh horse or one that could get spooked,” concludes Coral.
Correct position of stud holes
In order to use studs you will need your farrier to fit your horse with shoes that have stud holes containing predrilled threads.
The bottom part of the stud is the thread, which enables the stud to be screwed into the horse shoe. Each metal stud has a tungsten core running from top to bottom inside it, which helps to withstand the repetitive concussion that studs are exposed to.
“Stud position [in a horse shoe] is very important. If the studs are right at the heels then this can reduce the horse’s ability to twist their foot in the ground, as their body moves over the foot,” explains Ben Benson.
“If they are too far forward, as the heel lands and the foot begins to load then they can become a pivot point, creating a see-saw effect.
“In my opinion, for optimal position studs should be placed halfway between the heels and the widest part of the foot. This means it will approximately be underneath and in line with the heel of the pedal bone.
“This makes it easier for the horse to index or calculate the landing phase with each stride,” adds Ben.
Modern materials
Traditionally studs are metal, but there are innovative brands on the market making them from different materials, including:
SupaStuds
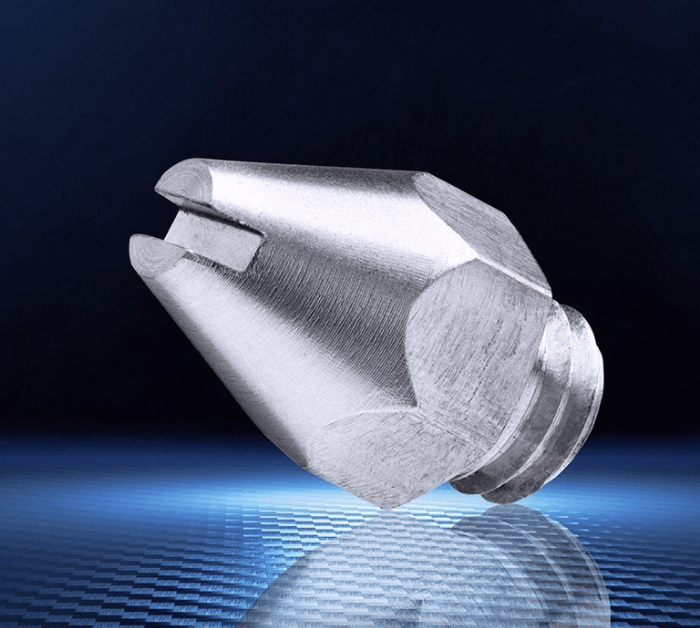
 SupaStuds have a unique self-cleaning design so a tap isn’t needed to clean the hole before you insert them.
You can screw the stud straight into the hole which makes studs easier, faster and safer to apply.
SupaStuds are rust resistant and have been subject to a high-tech hardening process, which means the studs are strong and hard wearing.
RRP from £2.50 (US$3.75) each
StudFast
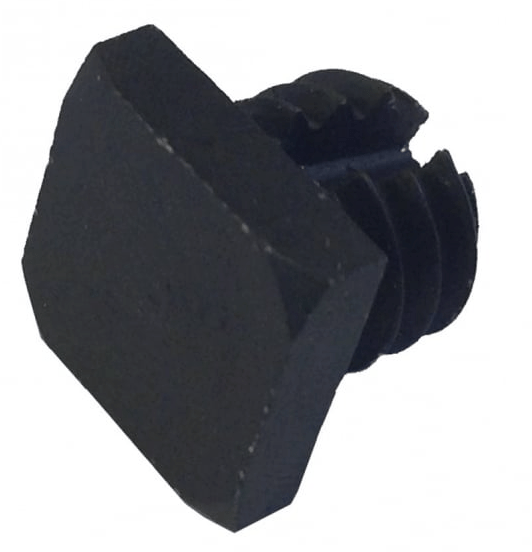
 StudFast are the first non-metal screwable studs available in the equine world. They’re made from an impact-resistant polymer and consequently they’re much lighter than normal studs. They don’t rust and are less jarring for the horse.
StudFast studs are easy to use and are orange in colour, which means they are easier to locate.
RRP £18 (US$29) for a pack of nine
Rescue Studs
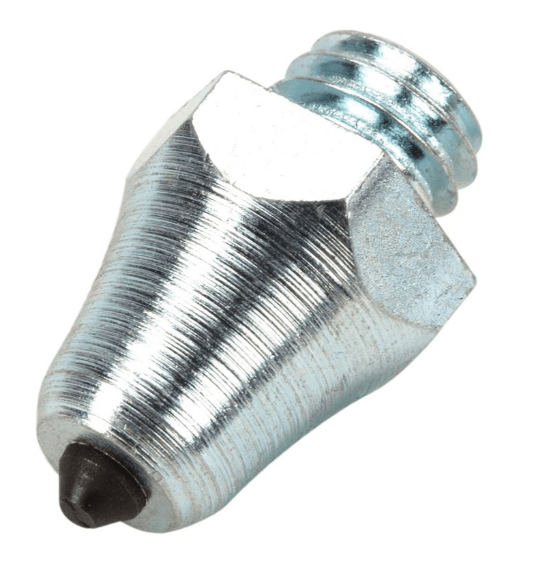
 Rescue Studs were designed by farrier Nigel Turner as a solution to loose and worn stud holes, as well as new ones. They feature a unique slot at the tip of the stud which allows you to tighten the stud with a coin or similar.
Their innovative design ensures the stud still fits tightly in the horse shoe, regardless of whether the stud holes are new or have become worn or slack.
RRP £17.99 for a pack of four
Traditional metal horse shoe studs
The choice of metal studs is vast and includes:
Liveryman Studs
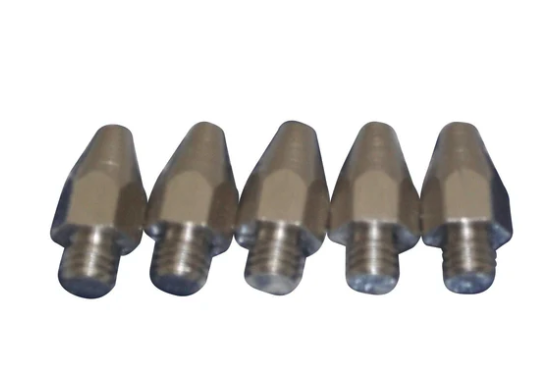 Liveryman offers a variety of metal studs and stud tools which are perfect for providing extra grip on a range of surfaces.
RRP £5 for a pack of five (US$18 for a pack of five and spanner)
Premier Equine
 Premier Equine metal studs provide increased traction on a variety of surfaces and in all weather conditions.
RRP £11 for a pack of four